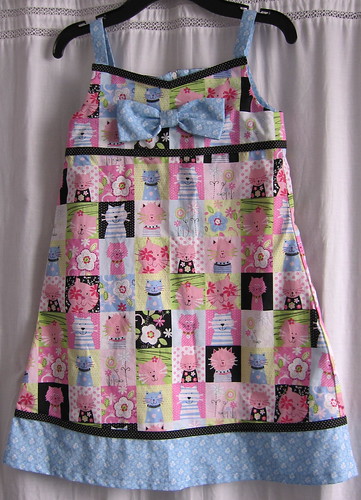
I'd been eyeing this dress made up at Joann's for months, along with the pattern. I just didn't buy it--not even when the patterns were $1 ea--silly me! Finally broke down and bought it at the regular 40% off price--ggrrrrrhhh!
But it turned out awfully cute!

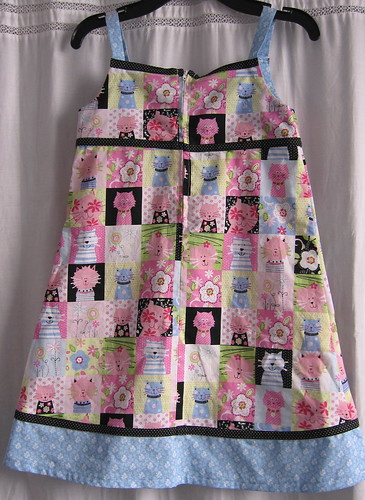
Back view (called for a 12-inch zipper--she would have been sitting on a lumpy old zipper! This is a 7-in. one.)

I couldn't find the specified ribbon, so I made the trim from black with tiny white polka dots--just like occur in the kitty fabric. They match so well, that it's amazing up near the top trim by the zipper.
(I apologize that many, if not all, of the photos in this blog do not get larger if you double click--that is because I compose in Google Chrome g-mail, which gives me greater flexibility with my photo placement. But when I copy them here, they don't carry the link.)
(I apologize that many, if not all, of the photos in this blog do not get larger if you double click--that is because I compose in Google Chrome g-mail, which gives me greater flexibility with my photo placement. But when I copy them here, they don't carry the link.)
And I did NOT insert the straps in the back between the bodice and it's lining--they will remain obtainable and adjustable on the inside of the dress.
The bodice is lined in the blue flowered fabric.
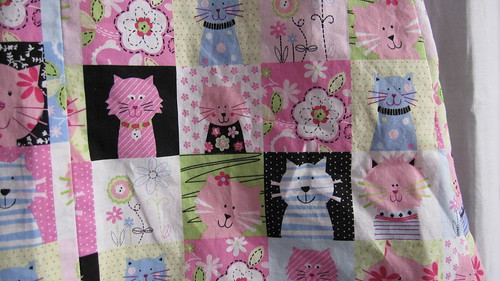
Close-up of the kitty-kats

This fabric combination is even cuter than the one in the store. It was a tiny remnant--I wish I had more of it to put into quilts.
[I really MUST get some professional photography lights and a stand to hang my stuff on. The inconsistency of the colors is driving me batty. I also need a "stretching frame" to pull stuff straight!)
======
Later:
This dress has a history already... When I tried it on her, it was too wide at the top of the bodice--more so across the front than the back. So I disassembled a great deal of it (removing most of my tiny hand-sewn stitches I had used to attach the bodice facing to the dress). I took 5/8" off each side and re-curved the armhole. (I avoided having to remove the bow.) I decided not to take any off the back. I re-sewed the bodice facing and re-attached the trim where it had been removed. Then I attached the shoulder straps at the back by hand--they were (as suspected) very much too long).
It's much better, but it would have been better to take a little bit more off the front, and a small amount off the back bodice top.
The real reason I had never purchased the pattern was because it didn't look quite right made up in the store. Now I know why! I should have followed my instincts and taken a much closer look at the width before sewing it all up! Another really cute idea designed rather poorly...
No comments:
Post a Comment