Sunday, September 4, 2011
Dots and Circles
(Post revised to reflect changes to dress number 1.)
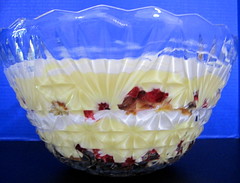
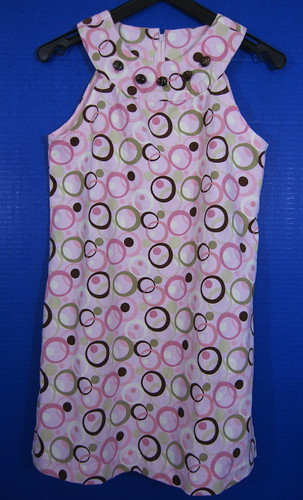
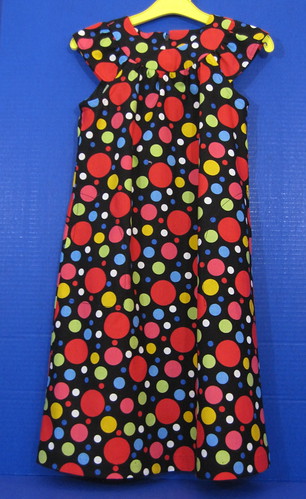
I wanted to make my great-niece a sundress/jumper from the light weight corduroy. She's a pink girl, and loves polka dots.
I wanted to make my great-niece a sundress/jumper from the light weight corduroy. She's a pink girl, and loves polka dots.
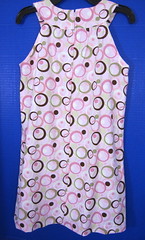
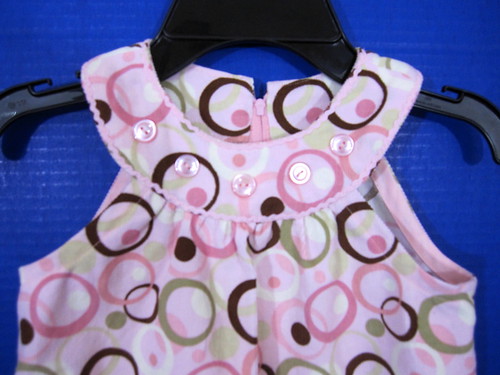
Back:
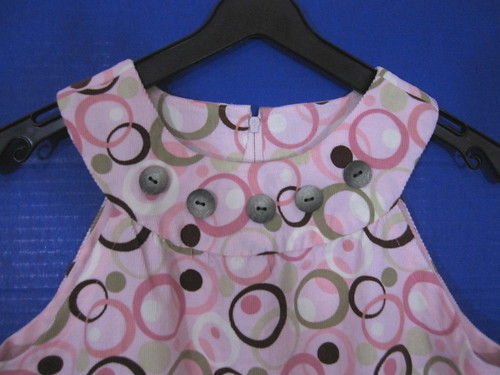
Front yoke detail: I had thought I might leave it plain, due to the highly patterned fabric, but it was very strange. It looked absolutely blank, so I decided to embellish the yoke. I wanted "stones", but buttons have to suffice because I couldn't find what I wanted. First I tried some dark green buttons, but they were shiny, so I went back to the store and got these. (The color is not really true here, especially for the buttons.)
Later I decided I just couldn't handle those buttons, so I got some varigated glass beads of avocado and cream. Somehow I failed to take a photo of those, which I regret because I preferred them.
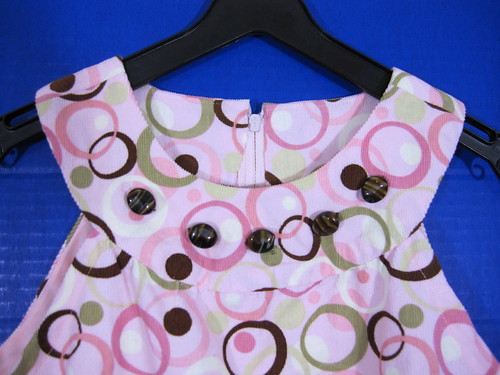
Then I showed it to my daughter who declared the avocado circles were NOT avocado; she said they were taupe. (I still disagree.) So we went back to a bead store and found these. (By this time I had put four sets of things into the yoke and was getting quite concerned about all those holes.)
Front number 4 (final):
It looks nice, and because of the busy print, it is somewhat a shame that anything was required on a garment for a 5-year old. It will have to do.
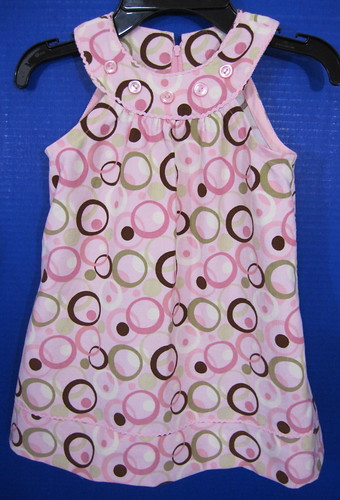
Final finished front:
There were small pieces of fabric left over, so I decided to see if I could get a similar dress for a small sweet girl I know out of the remainder. Sure enough, I could get pieces long enough for a top, and across one end was just enough to make a "lower skirt".
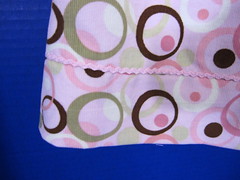
I attached the "lower skirt" and put a row of baby ric-rac over the seam.
When the skirt was done, I found I had enough length to turn it up to meet the seam (completely hiding my hem stitches). First I put a "permanent hem" in at the bottom, then turned it up and used a "knot stitch" to attach it to the back of the seam where I attached the "lower skirt". I steamed it a little and pressed down with my hand, but I did not "press" down the hem with the iron, in hopes of causing fewer issues later when it is lowered.
When she grows, her mommie can take out the knot stitches. If she wants the full length, the hem is already finished. If she wants less, she can hem it where she likes. I included the remaining ric-rac so she could cover the line it will leave where the current hem is folded.
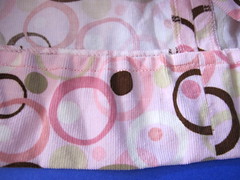
I added ric-rac on the yoke to match the skirt.
Back view:
For this one, I used matching pink buttons to embellish the yoke. (After my long tale, I rather wished I had used pink buttons for the one for my great niece, above.)
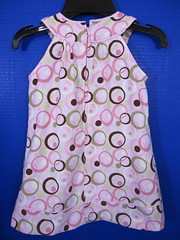
Finished dress: (This is probably the truest color.)
I like them both! I already know the little one's mommie loves the dress, and I know my niece loves the fabric, so maybe it's a winner...
[My niece says her daughter likes the dress; I'm not so sure the Mom is crazy about the finished garment.]
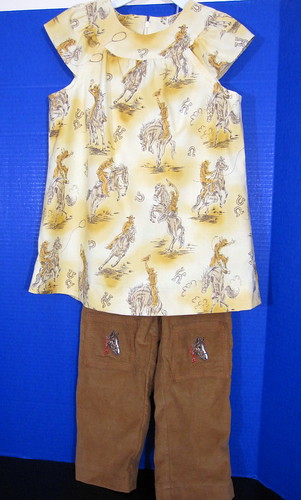
Horsies and Cowboys
So, I started out to make a pair of cowboy corduroys. I was working with denim so I experimented with decorative stitching using 'Jeans' thread. It worked beautifully, so I purchased the colors I wanted for the corduroy.
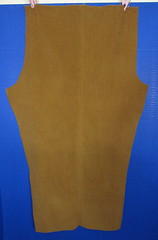
First I sewed the fronts to the backs, in anticipation of doing a sort of ropey-lariatey kind of stitch.
Then I began to experiment with scrapes of the actual fabric. This is the really light weight corduroy and it simply WOULD NOT WORK! I tried various things on the back, including wash-away and non-soluble stabilizer. I had no intention of actually sewing it with the non-soluble type as I must keep the back as soft and lump-free as possible. But the non-soluble kind was only a marginal improvement over the wash-away; the stitches still rose up and sat on the surface. It was strange.
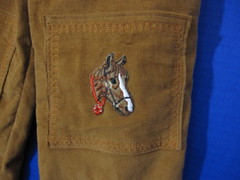
My bottom line was: NO decorative stitching. So I went to my stash and got the cowboy applique patches I had been saving for some appropriate moment.
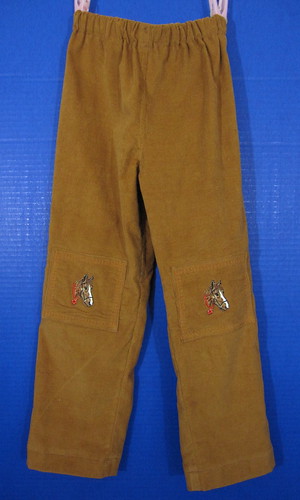
I decided to make a knee patch (again to strengthen the fabric) and applique the horses on to the patch. I intended to applique the patch BEFORE sewing the patch to the pants, but I forgot. It is stronger this way, but might be a tiny bit scratchier on the inside--not much.
After I stitched the horse, I ran a row of loopy stitches (rope theme) around the edges to strengthen the patch. This stitch worked better because it was going through two layers of fabric.
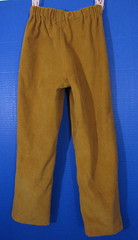
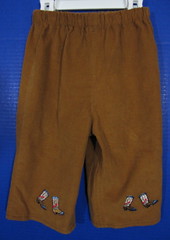
Back view, finished pants.
Front view, finished
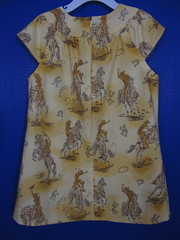
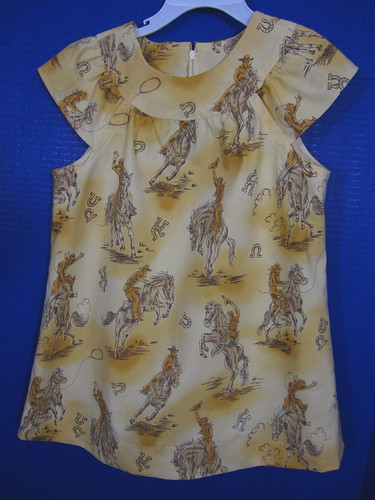
After completing the pants, I made a cute top, which has enough room for a long sleeve tee shirt underneath--thus achieving the "look" on that company's website where they stitched a long sleeve tee shirt sleeve into a top exactly like this. Meanwhile, it has all the flexibility of being a summer top, and with a short sleeve tee shirt, it becomes literally a year-round garment.
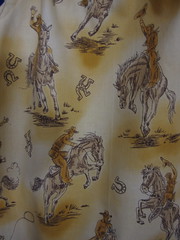
Close-up of the cowboys...
Back with zipper
Front (she LOVES the horses! Didn't mention the cowboys...)
Then I asked her mommie if she'd like a pair of shorts as well, because it's still hot here. I decided to make these longer than normal, but I didn't know just exactly how long to make them until I tried them on. Both the young lady and her mommie liked them as long as I had cut, so they are just below the knee.
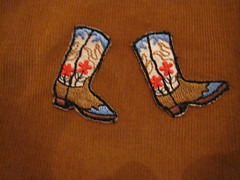
I decided to use my other cowboy decorations in the knee area near the hem. (Pant fabric color is true here.)
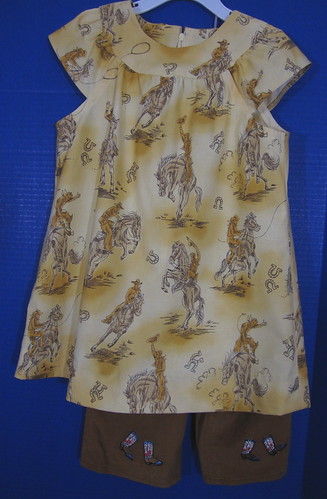
Top with shorts
Top with long pants
Now I have to decide what pattern to make her other horsey top. I thought of making a long sleeved dress, but that isn't so flexible, so I will complete this post when I figure it out.
-----------
Later:
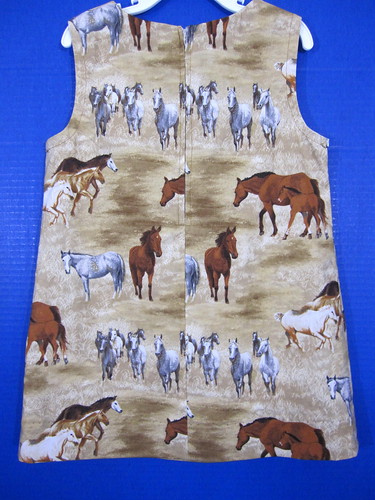
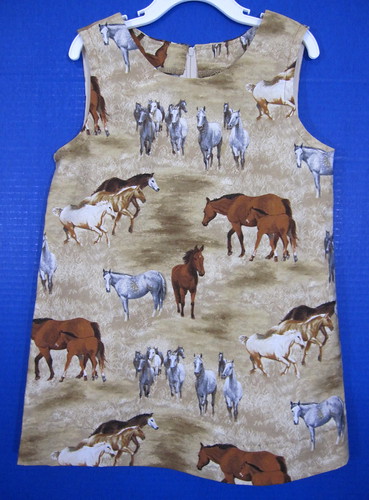
I finally decided to make another sun top/jumper top out of this one. The pattern is very simple and plain. I used before here: http://nanabs-sewing-fun.
Back:
Front:
This top also matches the pedal pusher/shorts and pants above.
When she got the whole set, she immediately fell in love with THIS one because there are baby horsies with their mommies. (I should have guess that one...)
Sunday, August 28, 2011
Polka Dots for a Sweet Pea
My niece sent me to a company's website for ideas on things to make her daughter. So I decided it was time to try pants with the knit fabric waist band.
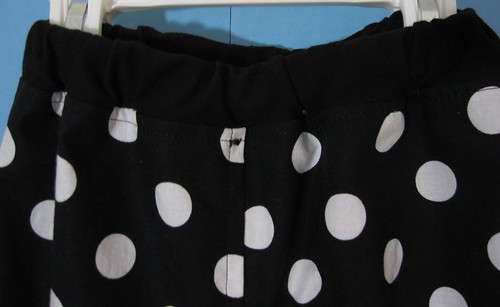
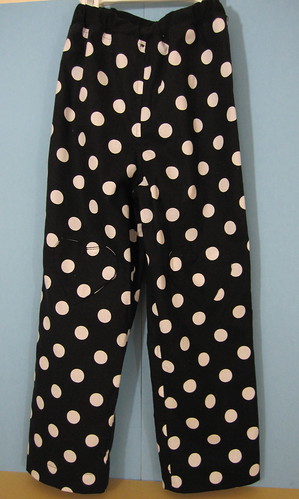
They had made something rather similar from sweat pant material and ribbed knit waist band. I found my fabric on a "designer samples" table, so it isn't the standard off-the-bolt quilting cotton. It is ever so slightly heavier (at least it was until I washed it) and slightly sateen finished.
I didn't have ribbed knit for the waistband, but I had a substantial nice quality knit and it worked quite well.
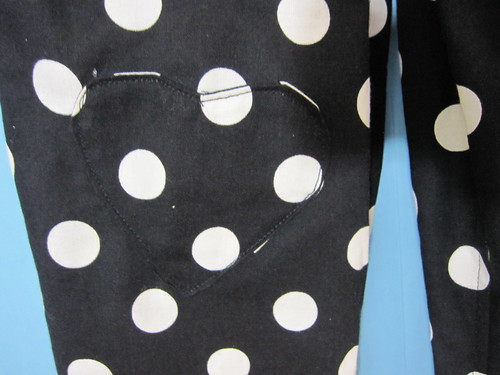
They had hearts on the knees (and theirs didn't show up either), so I decided it might help to keep it from tearing if she falls and scrapes her knee.
Cute!
Blue Jeans with Embellished Pockets
Our five year old likes cute, stylish, and sparkly, but she also likes comfort (thank goodness!). So her blue jeans get elastic waists.
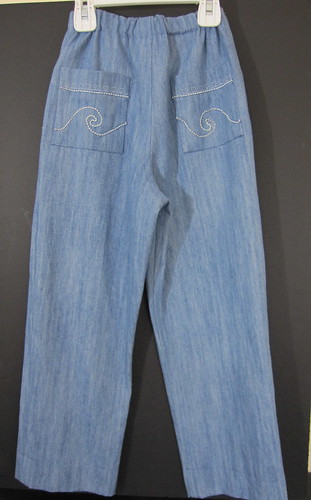
I had to make this up as I went, so I started out with the idea of diagonal pockets in the front and decorated traditional pockets at the back.
And here is where I REALLY wish I had the machine with a hoop so I could embroider butterflies on the legs of her blue jeans!
I was trying to achieve the 'heavy decorative stitched" look on the back pockets, so I used one of my designs. It needed something above the design, so I did a row of hearts. I used steel-colored embroidery thread and to try to make it show up, I used two spools in the needle.
When I was all finished, the stitching was almost invisible, so I decided to try to please her sweet little heart and put silver beads on the back pockets. My serger can put them on some things, but there's no way it could work with this design.
(My theory was that if I could put the beads as far out of harm's way as possible, they just MIGHT stay on the jeans. Also, I wanted to place the pockets where she would not be sitting on little hard things, as that would never fly for our "please cut out my label" girl.)
I decided to try to apply the beads with my sewing machine. It is not designed to do this and it does not have a specially-designed foot for the purpose. I felt a zig-zag stitch would be more durable than hand-stitching clear thread, so I effectively "forced" my machine to zig-zag the beads onto the pocket by turning the wheel by hand and lifting the presser foot, moving it a tad, lowering it, and stitching some more. It was a very painful process, especially as it also involved some literal "pain" because I'm having a repetitive stitch issue in my right wrist at the moment. But it seems to have worked. We will only know as she wears them and they go through the laundry.
Of course I could not stitch the pocket to the jeans with the beads in place, so I stitched them across the bottom, folded them up, and stitched the sides by hand, using double thread instead of single. Then I did a short bar tack (by using a narrow, tight zig-zag) at the top of each side. I hope they will hold!
After maneuvering the the design beads on the pocket design, it looked a little blank, so I put another straight row of beads across the top (under the invisible hearts). After I applied the pocket, it looked like this:
When the jeans were nearly finished and the hem basted to see just exactly how much MORE this long-legged girl had grown since June, I took them over to fit As I showed them to her, she pointed to the beads and asked me where they went. When I told her they were on the back, she said, "I want these on the front"!
[I said to myself, "Duh, Nana. Of course every little girl wants to SEE her beads!" How could I make that mistake???? I did actually consider it, but I was trying to keep them out of harms way.]
I explained that I could not move them, but I would think about it and see what I could do.
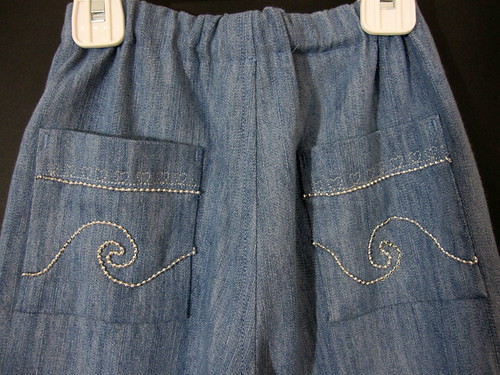
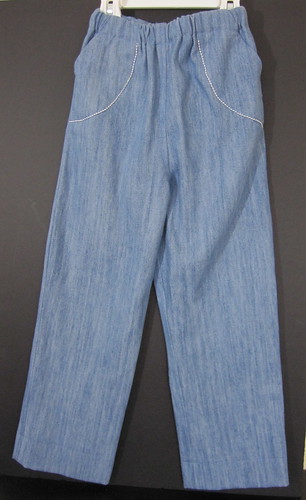
I had to take out the upper side seams because the jeans were too big around anyway, so I decided to apply a row of beads to the stitching for the front pockets. That is about as much as I could do with these already-completed jeans. (In England, they would say, "in for a penny, in for a pound". When I was done, the front pockets looked like this:
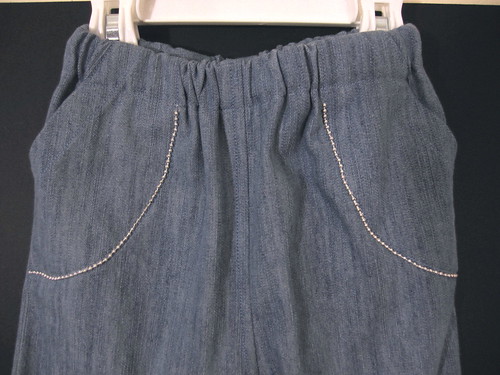
Back view: (the color is true in the full length shots)
Front: (I have corrected the photo--previously it was actually the BACK--so sorry...)
I hope they are still wide enough (I think they are still bigger than she is) and that she will like the final effect of beading the front. (And next time I will know WHERE to put her decorations!)
I hope they are still wide enough (I think they are still bigger than she is) and that she will like the final effect of beading the front. (And next time I will know WHERE to put her decorations!)
--------
After she tried them on again, I learned they were still wider than I wanted (and I used the width of a size 4 pattern for a size 6 tall girl). The next pair I cut out I also used the inseam of a size 4 instead of a size 6--so we'll see how that goes.
And we will also find out just HOW LONG these beads will stay on!
Thursday, August 4, 2011
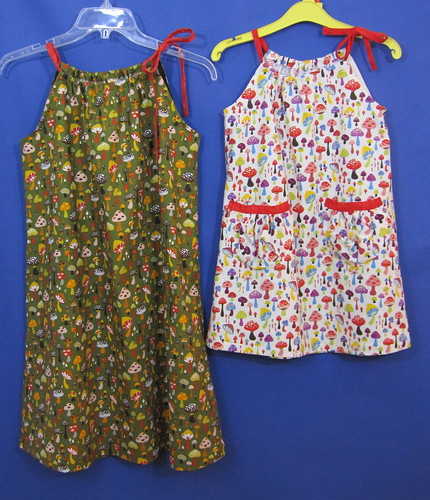
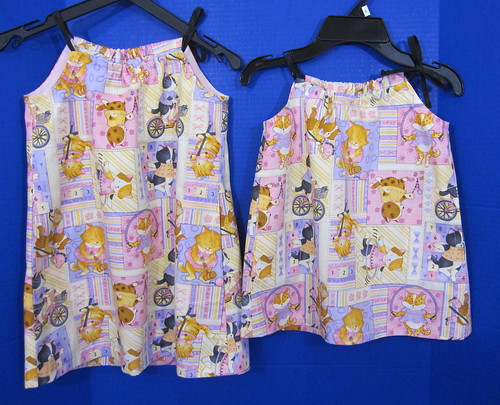
more "Weelee Dresses" - and one with Polka Dots
Numbers 14-16...
| ||
 .
.
Thursday, July 28, 2011
Another one of those "Weelee Dresses" (i.e., formerly known as NOT-a-Pillowcase Dresses)
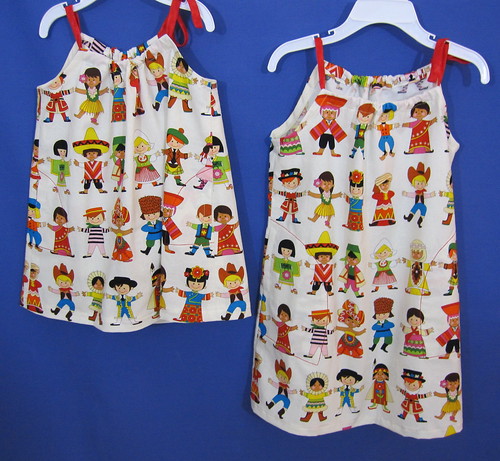
Number 13...
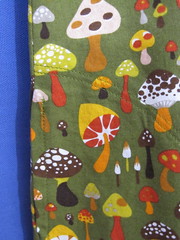
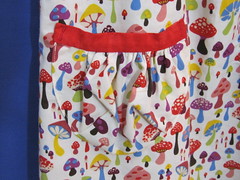
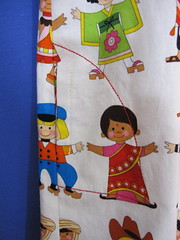
These cute critters are for little Miss V. Right after she received it, her mommie sent me three photos. I think she took three trying to get one without her hands in her pockets, but no, she had her little hands crammed in those pockets every time! I am SO glad I made her this style. (They all have pockets, but not all are like these, which take more time.)
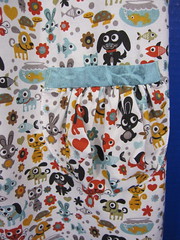
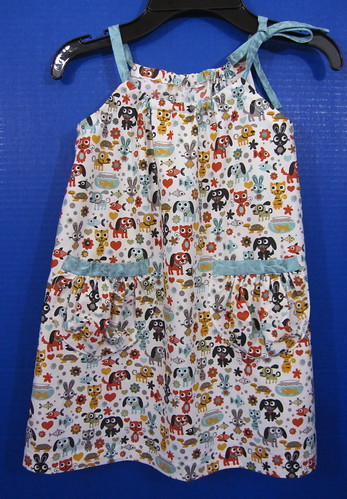
These cute critters are for little Miss V. Right after she received it, her mommie sent me three photos. I think she took three trying to get one without her hands in her pockets, but no, she had her little hands crammed in those pockets every time! I am SO glad I made her this style. (They all have pockets, but not all are like these, which take more time.)
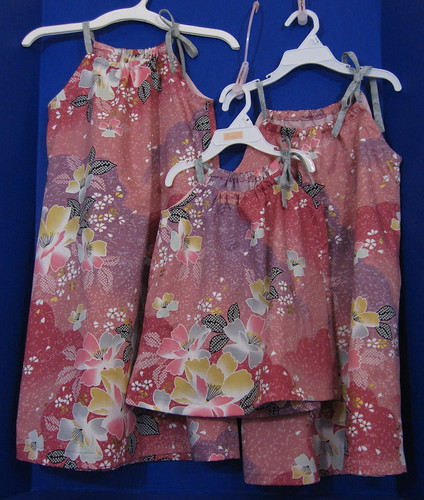
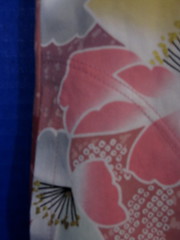
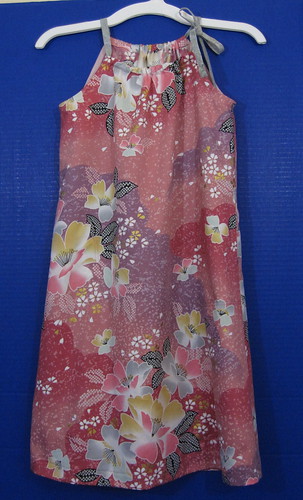
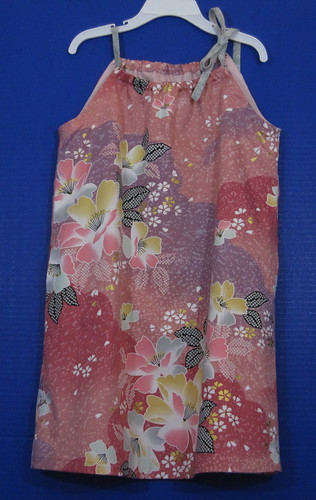
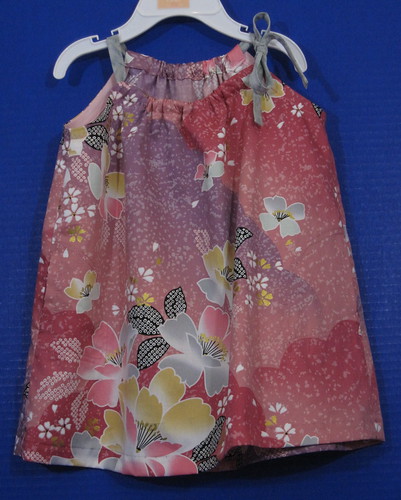
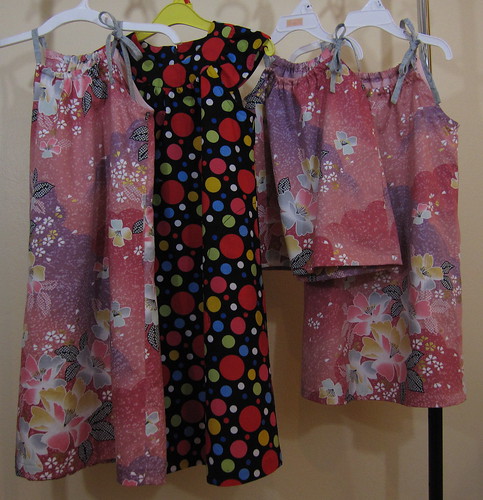
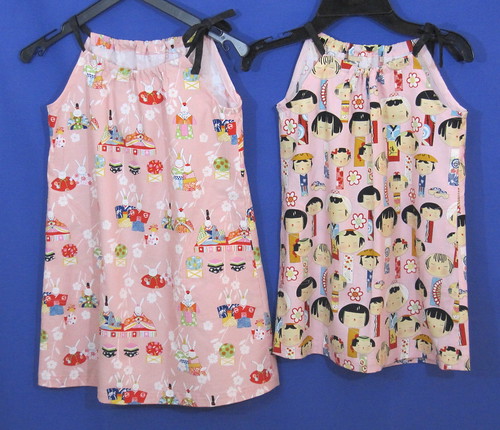
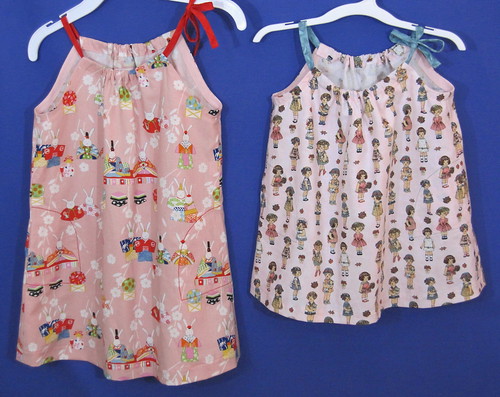
Now on to a set in gorgeous Asian print...
Wednesday, July 27, 2011
Change of Name for the Sun Dresses
Someone who received one of my Not-a-Pillowcase dresses (see previous post below) is an adorable 2-1/2 year old. She named her dress the "Weelee Dress" and I like it!
Henceforth they shall be called "Weelee Dresses".
Henceforth they shall be called "Weelee Dresses".
Tuesday, July 26, 2011
NOT-a-Pillowcase Dresses (now known as "Weelee Dresses")
You may remember the ladybugs for my wadybug post: http://nanabs-sewing-fun.
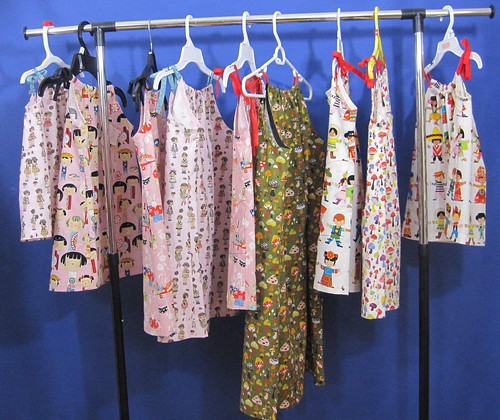

I needed to make some simple gifts for what turned out to be a BUNCH of little girls, so I went to my "stash" and started picking out fabrics. I had purchased an awful lot of pink varieties in the hopes of matching things to her quilt princesses. Most of them did not work, so it was fertile ground for the picking.
This is just PART of the ones I made - detailed photos to follow.
For A in Tennessee, and her little sister O
I used a variety of pocket details, so will only include a photo of one of each type. Double stitches on left, then the fancy pocket I designed previously.
For cousin B, in NY and her little sister cousin T
Of course I could not leave out their cousin (my granddaughter), just in case they took a photo while they are all together this week.
For S and her little sister M
Their pockets have emphasized stitching
For S and her little sister N
After the photo of the group was made, I also made these for E and her little sister R.
Counting the "ladybugs", I have now made 12 of these and I am not finished. I was holding this post until they were all complete, but I keep coming up with more people who need one, so I'll post this and do some more in a separate post.
Saturday, July 23, 2011
Mending her pants
I don't usually post mending on here, but to amuse myself I thought I'd share this one with you.
(I should possibly not mention that my CRAZY daughter spent over $8 on the patch kit!)
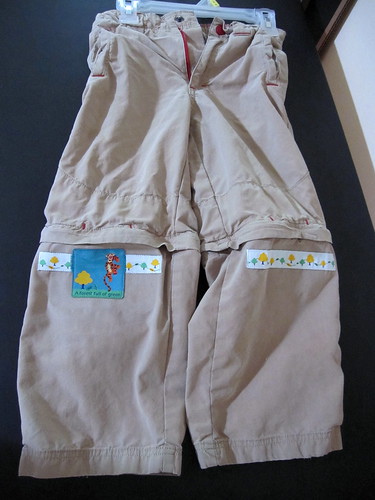
One knees of her pants had a 4+ inch slit, frayed, etc. In fact it was so frayed that I could not simply "join" the two sides together--when I had trimmed it there was quite a hole. The other knee was also extremely thin, so I figured it would go at any minute.
Actually the entire pair of pants she inherited from her brother is really quite worn out, but we all love the pants and she wanted them repaired. They probably won't work for her next year (except as the zip-off shorts).
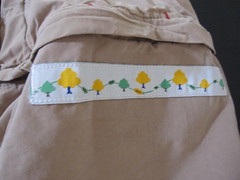
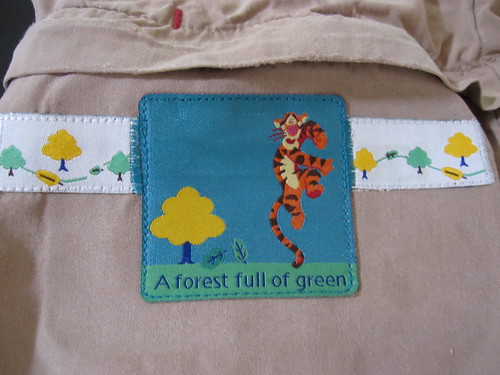
On the back of each knee I used iron-on patches, then I applied the decorative stuff her mommie bought to the front side. It was mandatory to cover the ENTIRE slit on the one knee, and fortunately the patch had the square, plus quite a length of the little trees. It lent itself very nicely to the repair.
The worn thin knee
The knee with the big slit
Final fix
(I should possibly not mention that my CRAZY daughter spent over $8 on the patch kit!)
Subscribe to:
Posts (Atom)