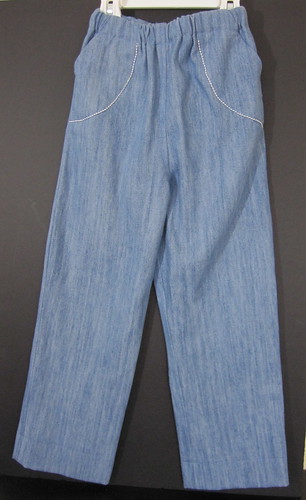
Our five year old likes cute, stylish, and sparkly, but she also likes comfort (thank goodness!). So her blue jeans get elastic waists.
I had to make this up as I went, so I started out with the idea of diagonal pockets in the front and decorated traditional pockets at the back.
And here is where I REALLY wish I had the machine with a hoop so I could embroider butterflies on the legs of her blue jeans!
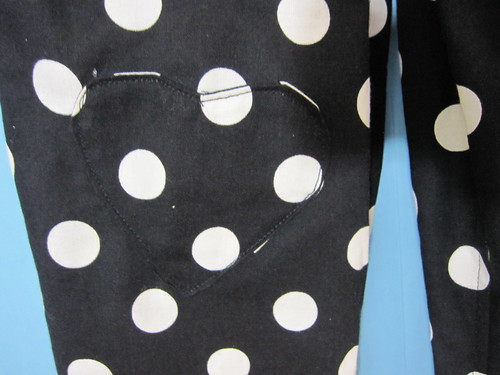
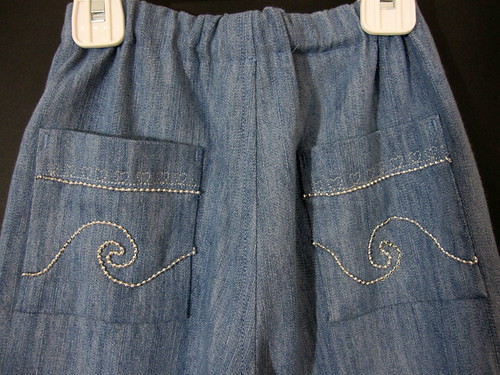
I was trying to achieve the 'heavy decorative stitched" look on the back pockets, so I used one of my designs. It needed something above the design, so I did a row of hearts. I used steel-colored embroidery thread and to try to make it show up, I used two spools in the needle.
When I was all finished, the stitching was almost invisible, so I decided to try to please her sweet little heart and put silver beads on the back pockets. My serger can put them on some things, but there's no way it could work with this design.
(My theory was that if I could put the beads as far out of harm's way as possible, they just MIGHT stay on the jeans. Also, I wanted to place the pockets where she would not be sitting on little hard things, as that would never fly for our "please cut out my label" girl.)
I decided to try to apply the beads with my sewing machine. It is not designed to do this and it does not have a specially-designed foot for the purpose. I felt a zig-zag stitch would be more durable than hand-stitching clear thread, so I effectively "forced" my machine to zig-zag the beads onto the pocket by turning the wheel by hand and lifting the presser foot, moving it a tad, lowering it, and stitching some more. It was a very painful process, especially as it also involved some literal "pain" because I'm having a repetitive stitch issue in my right wrist at the moment. But it seems to have worked. We will only know as she wears them and they go through the laundry.
Of course I could not stitch the pocket to the jeans with the beads in place, so I stitched them across the bottom, folded them up, and stitched the sides by hand, using double thread instead of single. Then I did a short bar tack (by using a narrow, tight zig-zag) at the top of each side. I hope they will hold!
After maneuvering the the design beads on the pocket design, it looked a little blank, so I put another straight row of beads across the top (under the invisible hearts). After I applied the pocket, it looked like this:
When the jeans were nearly finished and the hem basted to see just exactly how much MORE this long-legged girl had grown since June, I took them over to fit As I showed them to her, she pointed to the beads and asked me where they went. When I told her they were on the back, she said, "I want these on the front"!
[I said to myself, "Duh, Nana. Of course every little girl wants to SEE her beads!" How could I make that mistake???? I did actually consider it, but I was trying to keep them out of harms way.]
I explained that I could not move them, but I would think about it and see what I could do.
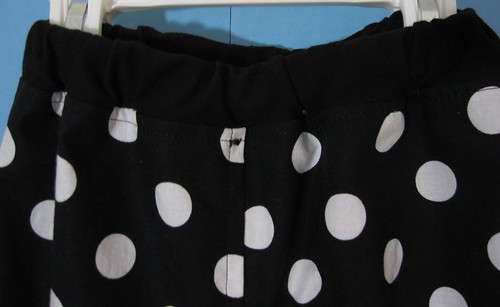
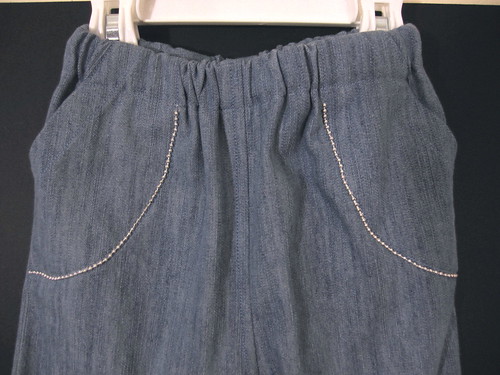
I had to take out the upper side seams because the jeans were too big around anyway, so I decided to apply a row of beads to the stitching for the front pockets. That is about as much as I could do with these already-completed jeans. (In England, they would say, "in for a penny, in for a pound". When I was done, the front pockets looked like this:
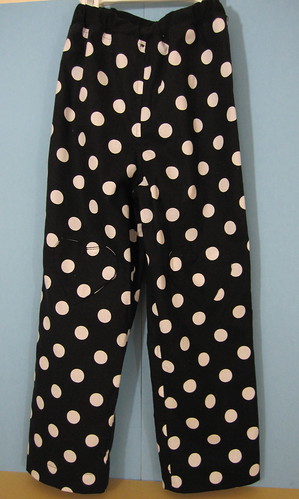
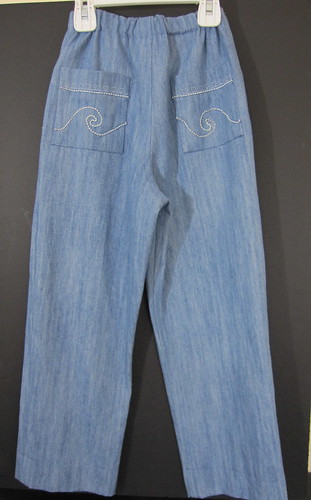
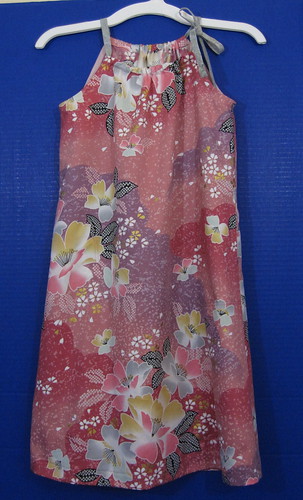
Back view: (the color is true in the full length shots)
Front: (I have corrected the photo--previously it was actually the BACK--so sorry...)
I hope they are still wide enough (I think they are still bigger than she is) and that she will like the final effect of beading the front. (And next time I will know WHERE to put her decorations!)
--------
After she tried them on again, I learned they were still wider than I wanted (and I used the width of a size 4 pattern for a size 6 tall girl). The next pair I cut out I also used the inseam of a size 4 instead of a size 6--so we'll see how that goes.
And we will also find out just HOW LONG these beads will stay on!
 .
.