It is basically a tapered square with the corners cut out, but rounded for the curve you see in the photo below.
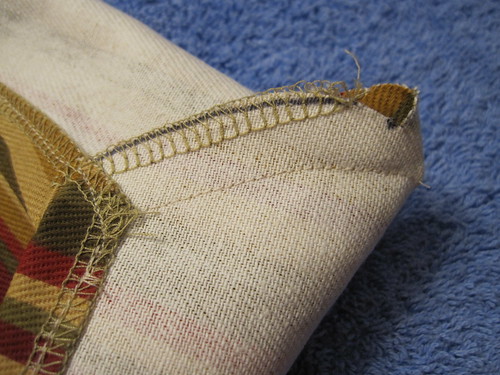
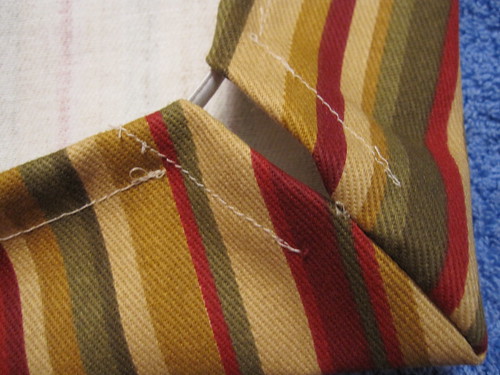
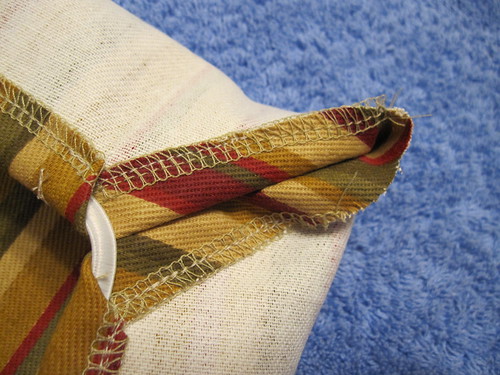
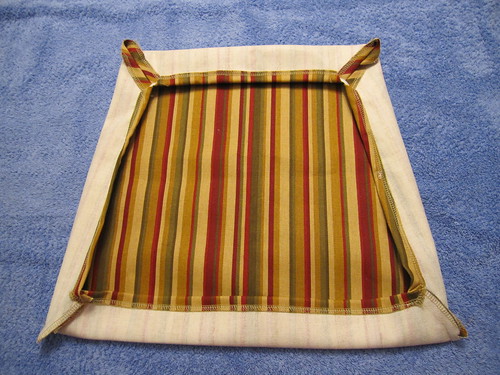
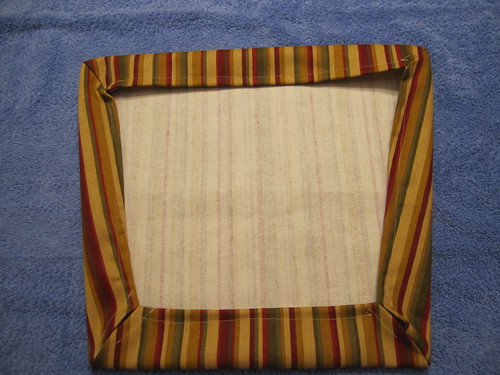
They curved the corners in like this to accommodate the rise from the chair bottom to the top of the cushion. The two front corners were finished like this.

The two corners at the back of the seat were opened like this, with elastic cording beginning about 4" up the side, threaded through the front (as I sewed), around the second corner, and 4" up the other side. It is pulled to allow the flaps to lay straight. The elasticity is only for getting it over the chair bottom.

Back side of this corner

Wrong-side view of finished seat cover

Bottoms-up view of finished seat cover

Top view - finished cover

Hmmm. I just bought material to do chair covers myself. I found a pattern for reversible chair covers but I might just do singles, like what you did. It looks more straight forward. This is exactly how I'd like mine to turn out.
ReplyDeleteI am still waiting to hear if it fits the chair! Maybe one day I'll find out.
ReplyDelete