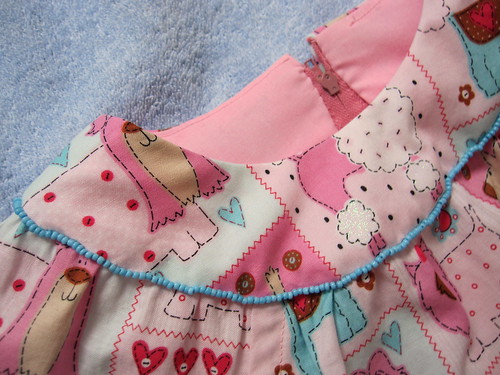
As I began working with the fabric and pattern I decided to use some glass beads I recently got for $1.00/pack at Beverly's. I don't know if that's a good price or not, but it seemed reasonable, so I got several packages--making sure I got some turquoise--her new "favorite color". This fabric matches them perfectly and they help break up the pattern.
I had not applied beads to anything in nearly 40 years and never to anything that really mattered how it turned out. (Back then I was putting clear/colored beads on Christmas stockings. I must remember to take photos of those and post them some day.)
Of course I checked the bead attaching techniques in my serger manual, but their method for attaching single beads was not what I needed for this project, so out came the needle and thread for several hours.
At first I could not make the beads line up properly or stay near enough together, but after about 4-5 inches I began developing my own system for applying them. (Of course, if I hadn't been so busy sewing on beads I could have searched the internet for suggestions. Instead I worked out a stitching method that worked pretty well. I'm not sure I can describe it properly, but I'll try. It is called the "back stitching" method. I have now done a little search and I am actually using a more secure way of attaching the beads than those I have seen on-line.
- First I sew on one bead. Then I put the needle through that bead and add another bead, then I sew backwards to the beginning of the second bead.
- I repeat the process, but after the second bead is attached, I insert the needle and pull the thread up completely and BACK TOWARDS the previous bead. THEN I add the second bead, sew backwards, and repeat.
Of course I used all the hide-your-knot and thread tricks as well.
Close-up of the beading - I am pretty happy with most of it now.

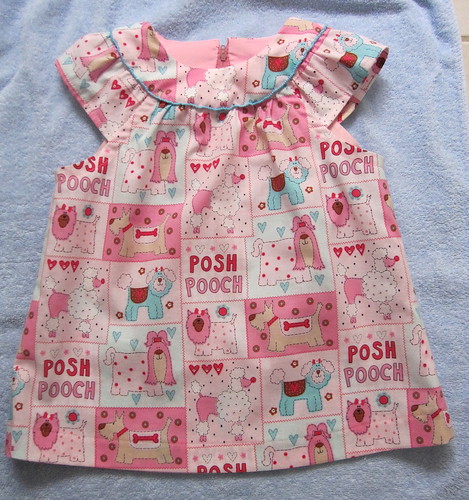
Front view

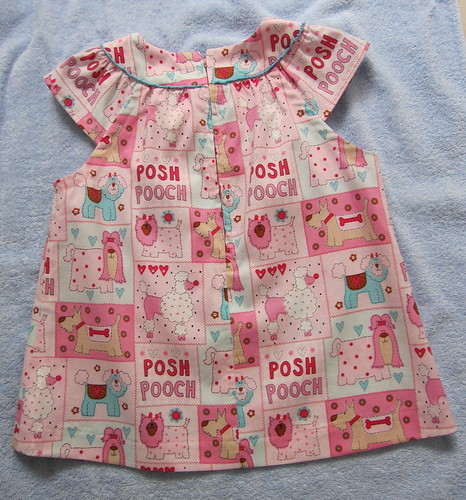
Back view with zipper--I added the last half-inch of beading after the zipper was sewn in. I stopped the beading at the row of vertical stitches for the zipper.

There as also a little bag pattern included. Several little dress patterns have various patterns for bags, but this is the first time I decided to make one. I thought she'd enjoy the fabric and I like this pattern.
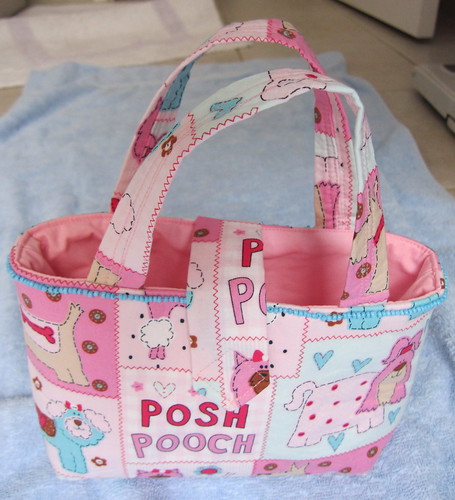
I used light weight iron-on pellon on all of the pieces (including the lining). I then added iron-on fleece to the back the outside fabric to hold the bag upright. You can see how well it stands on it's own. The pattern did not have the little velcro tab, but I thought it might be useful. (She likes to haul her fuzzy animals around sometimes.)
For fun, I added the row of beads to the bag as well.

Bag front view

She may rarely use them together, but she can if she want's too!

Can't wait to give this to her. Her mommie is going to love the beading.
[Next summer I will add a ruffle around the bottom for extra length.]
[Next summer I will add a ruffle around the bottom for extra length.]
And, guess what? I ordered some photography lights and full-spectrum bulbs as well as a 90-degree angle arm for my tripod to see if I can get better pictures of all my projects! Can't wait to try it out.
No comments:
Post a Comment