My daughter wanted me to make her a simple little A-Line dress from some cute fabric for a game she was attending (so working to a deadline...)
First of all, she went on a massive pattern hunt. She did not find anything online that was exactly what she wanted. She kept describing it to me, and what she really wanted was a late '60's or early '70's dress. None of the patterns we found were compatible with the fabric, or exactly what she wanted. I began designing it in my mind and trying to formulate exactly what was required to make it come out the way she wanted--knowing all the while that the final result would not be EXACTLY what she had in mind.
We had a stroke of luck (I thought) when I asked where the pattern had gone for a favorite dress I made her in the '90's from some lovely "koi" fabric she found. It was not as curvaceous as she had in mind, and she wanted a square neck as well. With the pattern in hand, I started looking at how to make a new one that would do the job.
I told her she should go to my "stash" and find a piece of fabric to make a "test" case in. Keeping in mind that the dress is made from cotton, you may be as amazed as I was when she picked velveteen for the "test" case!
After measuring, changing, and fiddling, I cut the dress and basted in the darts. (Her pattern only had side bust darts, but I needed to make back darts at least, to achieve some of the curves.) You can see where I adjusted the angle of the darts to make the placement accurate for her shape. Also my initial attempt at the square neck she described. (It wasn't right--she wanted it MORE square--no angle to the shoulders.)
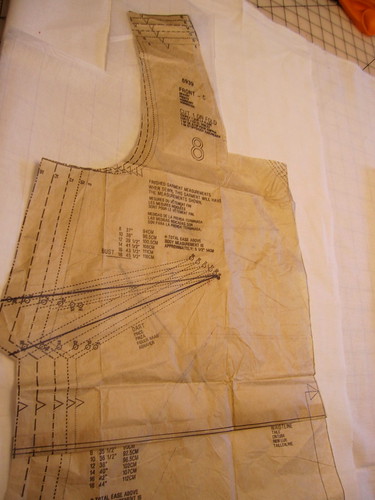
I tried it on her and and saw that we needed not only the back darts, but diagonal (in this case "curved") darts from the hip to the bust, and also needed to move the change the side bust darts to accommodate the new darts. You can see the new darts here:
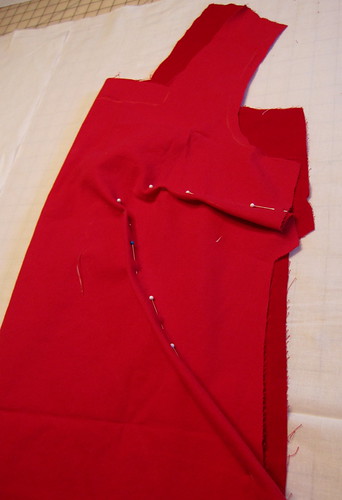
Then it was back to the drawing board to create a pattern. In order to get the new darts and changed side bust darts cut accurately, I marked it all on muslin and did not cut the sides until I stitched it up following the correct lines. Here is the way it looked at this point. As you can tell, I did not curve the darts for this fabric. (She may have been happier if I had, but I was rather overwhelmed at this point and decided she would have to live with straight-line darts.)
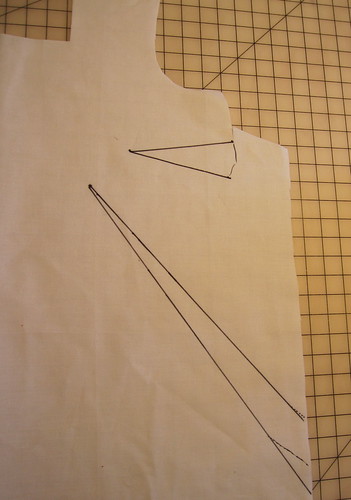
I basted in the darts and cut the side. Then I removed the basting and used the muslin as my pattern.
I thought I was ready to begin, but she got up the next morning and told me she had decided she wanted the dress to be lined, so we had another delay while getting the lining, then washing and drying it. Finally I could cut everything out. The last seams were the side seams so I could adjust the fit. (As I mentioned, she is not entirely happy with the final fit.)
I'm pretty happy with the pattern matching at the back zipper.
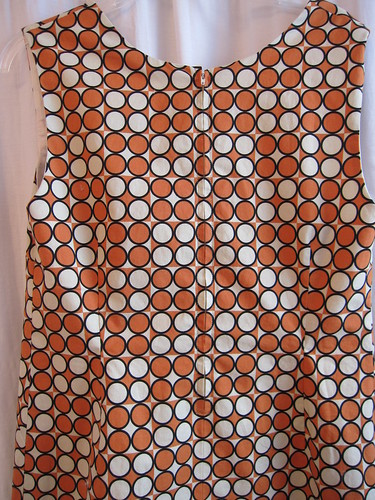
The side seams are not absolutely perfect, but that's not so very surprising. Of course with a tapered seam, they won't look like the center back.
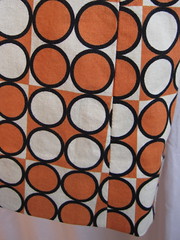
This one shows how I stitched down the seam allowance and lining across the front of the square neck to prevent the lining from rolling to the outside.

This view includes the squared front neck and the lining hand stitched down the sides of the zipper.

Front darts from the inside
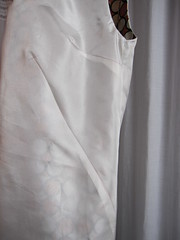
Back darts - lining; showing 1-1/2" opening in the lining below the bottom of the zipper to allow lining to drape well at the hips.

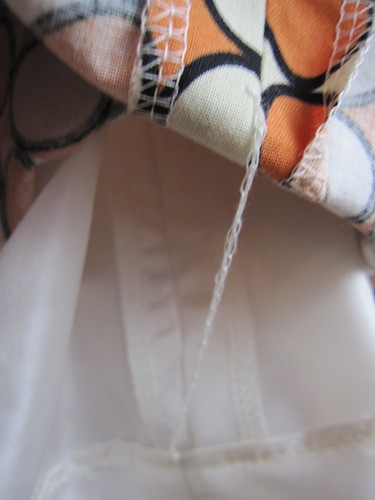
I used 3-thread serging to make the strings to hold the lining in place at the hem without attaching it to the dress.
The final outcome just looks like a big rectangle without her in it. It's pretty neat, but still does not fit just as she wants. Perhaps next time...
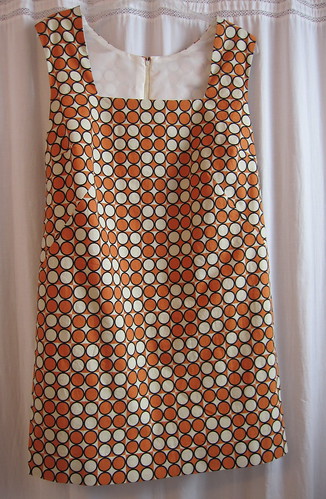
Perhaps one day I will get to take a photo of her wearing the dress. (My attempt to steal one of her mobile ones failed.
No comments:
Post a Comment