I deleted this and added to it so I am re-posting with a bit more data. If I had known I was going to create this blog yesterday, I would have taken more pictures during the construction process, to explain it better.
[Sorry to "Mags"; I have added your comment to the new post.]
With my new machines I received 'Intro' classes, plus 3 years of one class per month for EACH machine.
This is my first sewing class project. I wasn't too excited about making these placemats, but after I found some inspiring fabric, it was fun!
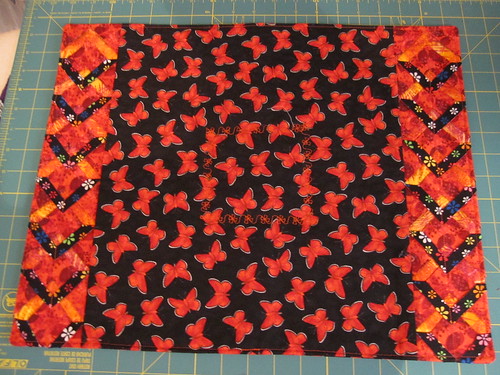
For four placemats, select 4 high-contrast coordinating fabrics.
For the center (butterflies), 2 yards cotton fabric.
For each of the 3 fabrics used on the side panels, 1/2 yard cotton fabric.
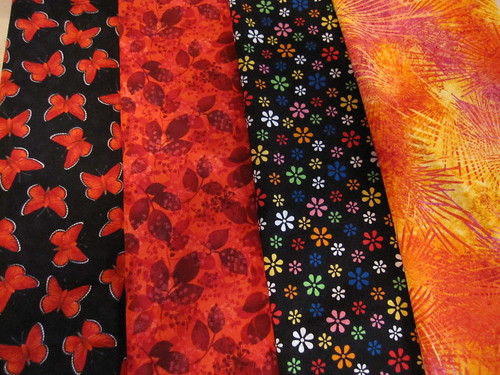
Cut four (4) 14" x 16" pieces of the "center" fabric. (In mine, this is the black with red butterflies.) [Cut the backs to fit after the fleece is fused to back of tops of placemats.]
[I personally will not make quite such wide placemats in the future. You can only get maybe four of these on an ordinary sized table. Very pretty, but not so practical. In using the Double Diamonds they need to be this wide in order to see the pattern.]
Cut three coordinating fabrics for edge panels in 4" x 16" strips (8 each).
Pick the top two fabrics for the diamonds, and fuse together with Seam-a-Seam 2. (In this case, the black with flowers is fused to the red leaves pattern.)
Fold each fused strip down the middle. Press down the center for cutting the diamonds.
Using a 3.5" Double Diamond Ruler™ (details shown in post below), place the cutting edge on the FOLD of the fused strip!!!!
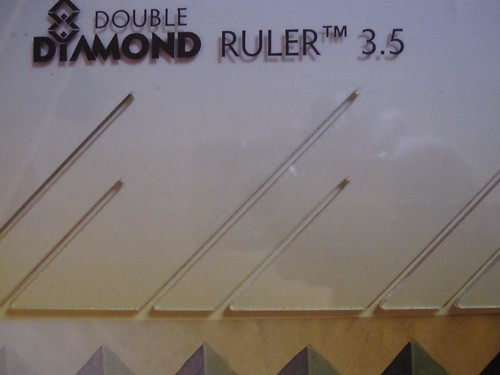
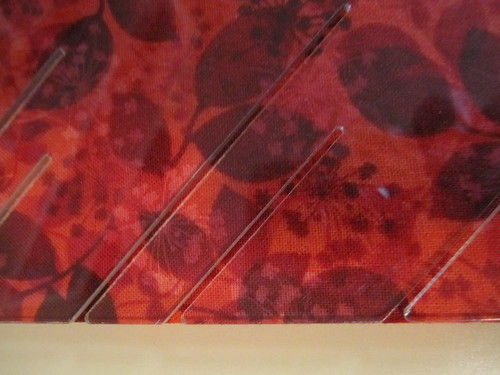
Using a rotary cutter, slit down the grooves--making SURE the folded side is at the edge of the cutting side of the ruler as shown above!
Do not run into the plastic at the ends; it may ruin your cutting blade in a hurry. (I have to confess, I ran into the end a few times.)
Do NOT cut all the way through to the cut side of the fused fabrics!!! (It would fall apart if you did that.)
After slitting, carefully unfold and press the strip open again.
Pick the side you want to show only a little bit--in this case I chose the black background with little flowers.
Fold the narrow pointed piece carefully to the matching "point" on the piece above.
On just the pointed end where it will meet the matching point, use fabric glue to hold it in place.
After all diamonds are folded and glued in place, steam press firmly.
Next lay the strip over your 3rd strip of coordinating fabric (for these the orange and yellow) making sure the "right" side is "up"!
Stitch down the center through each point of the diamonds as shown in this finished detail.
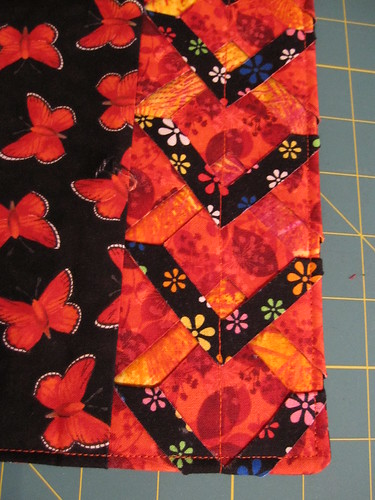
Then stitch all the way around the 3-layer side panel very close to the edges. (You don't want these stitches to show later.)
Stitch two side panels to each center piece (the butterflies) to form the "top" of the placemat.
Cut the fusible fleece to fit.
Press the fusible fleece in place. (Follow the directions for the fleece you purchased)
Cut the back side fabric (the butterflies) to fit each placemat.
Place the back and front with the "tops" facing each other.
Stitch all the way around, leaving a 5-in. gap on one side of the center piece (butterflies) so you can turn it inside out.
Turn; make sure your corners are fully turned; steam press firmly.
I blind-stitched the 5-in. opening before final stitching, but most people did not.
Top stitch all the way around about 3/16" of an inch from the edges (or whatever you think is attractive).
We used an iron-on medium-to-heavy fusible fleece liner, but I didn't think it would stick very well after multiple washing, so I reinforced it with some decorative stitching in the center.
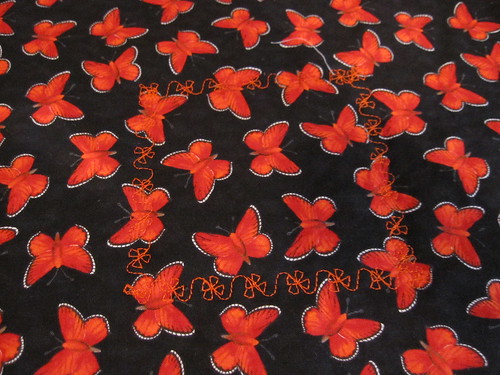
The decorative stitching would look better if I had centered the stitching in the photo as it is on the placemat.
Personally I would be more comfortable with this design if I had used a very narrow quilt-type stitch around every single "raw edge". The raw edges of the two pieces of fabric are fused together, but I don't feel very confident that they will never fray. I am still discussing with myself whether to spend the hours doing edge stitching on all four placemats...
Possible variations are numerous, but I will list a few:
It looks very nice with almost solid batiks in the middle and prints in the side panels. One person did this, and in place of my black-with-flowers fabric used a pale solid--very nice
If you have two very "busy" fabrics beside each other for the center and the side panels, you may want to use a contrasting solid fabric "flange" between them. You could also use the same solid fabric where my black-with-flowers fabric is in the side panels. Cut a strip 1-in. wide and 16-in. long to create a 1/4-in. strip. (I did not need this as my red-leaves has high contrast with the black background of the butterflies.)
For a nice finished look, you could use piping in place of the "flange" and all the around the edges. It would be fiddly turning and flattening the corners.
Our teacher made one version with a fairly dark batik for the center fabric. She used her embroidery machine to made a lovely design in the very center of the placemate after it was complete. (I suspect she was also nailing down that fusible fleece.) The design was perhaps about 4-inches (almost square). It looked very nice, and I wished had her machine for that part.
One person in our class made the center portion much longer and created a table runner.
from Mags
ReplyDeleteVery pretty. These would look great on a dark colored table.