Showing posts with label seat covers. Show all posts

Wednesday, January 2, 2019

Making a "test" set of chair coverings from Pillowcases

For a long time I have needed to make something to cover up my good chair on a daily basis.  When I finally got it cleaned, it nearly ruined the fabric so this week (on the 1st day of January) I decided it was time to use some old pillow cases and make a trial set of coverings.

I will probably use them for a long time while I check their functionality, run them through the washing, and ponder what fabric I might consider making "real ones" from.  This process make take years!

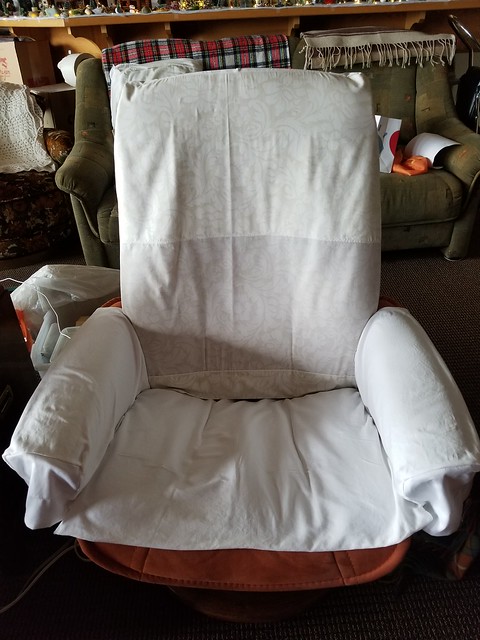
I cut open the old pillow cases and sort of laid them on the bit of the chair I was working on, cut them large, sewed, and tested, re-sewed until they were like I wanted.  Then I serged the seams and hemmed.  There are four finished pieces:  chair back, each arm, and the seat.

Also, on the one for the back of the chair, I put two layers of cotton (sheet scraps from quilting)  underneath the pillow case for where oils tend to get on the back of one's head and ruin the upholstery.

You can see the extra layers on the chair back:

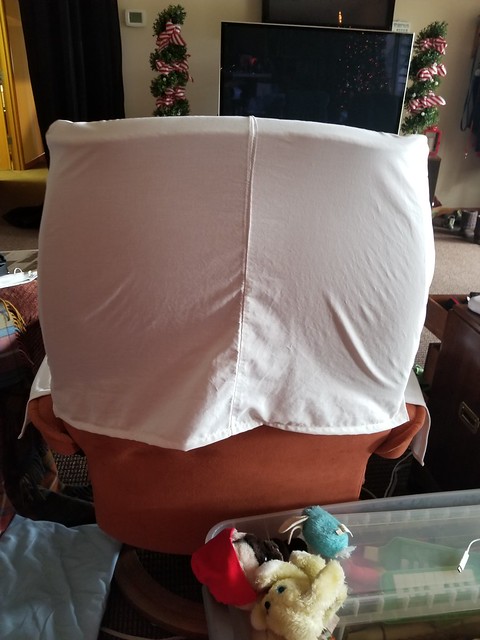
View from the behind the chair (this side is a much shorter piece as otherwise it simply dangles in the air.  Some refinement could occur in a finished design (of all parts); however, it cannot be a "snug fit" at the bottom as it would not be possible to slide it down over the top of the chair.
Saturday, April 30, 2011

Chair bottom covers

My sister-in-law wanted new bottom covers for IKEA chairs.  It turns out they make them removable, so I copied their design, which was a lot more involved than I would have done on my own, but it worked well, so I copied it.

It is basically a tapered square with the corners cut out, but rounded for the curve you see in the photo below.

They curved the corners in like this to accommodate the rise from the chair bottom to the top of the cushion.  The two front corners were finished like this.

The two corners at the back of the seat were opened like this, with elastic cording beginning about 4" up the side, threaded through the front (as I sewed), around the second corner, and 4" up the other side.  It is pulled to allow the flaps to lay straight.  The elasticity is only for getting it over the chair bottom.


Back side of this corner

Wrong-side view of finished seat cover

Bottoms-up view of finished seat cover

Top view - finished cover