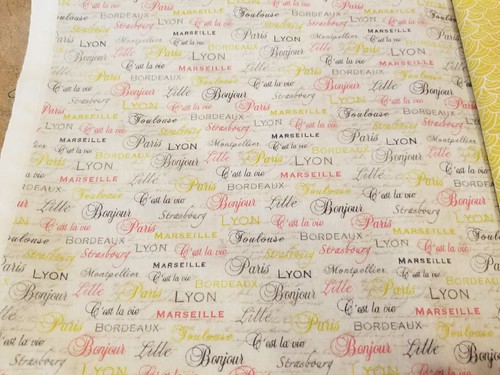
She also chose a nice solid grey for contrast, but we ended up not using it. (And because, in the end, I opted to make a bag the size of a normal paper grocery store bag, I did not put in a zipper pocked.)
I had a pattern for a shopping bag to make from mesh (examples I have made are earlier in this blog). I did not have a pattern which included a lined bag made of fabric. I thought it through and fortunately it worked! I used the softer version of webbing for the handles. I also used two layers of good white cotton inside the base in hopes of giving it strength.
In addition, I wanted the whole thing to be washing machine friendly.
The pattern was one-way in each case, so I had to keep this in mind. I sewed the two exterior pieces together, then the two pieces for the lining--making certain to leave a good 6-7 inches OPEN in that seam. (Each piece was 20" long before sewing seams. I simply trimmed about an inch down the side to get rid of the selvedge, and slit down the fold side.) Then I sewed the strengthening white cotton onto the EXTERIOR fabric pieces (could not put it on the lining--that seam had to stay open. Then I zig-zagged all around the edge of the white fabric to hold it firmly in place.
In order to make the lining, I sewed webbing straps on the outside fabric UP TO about 3 inches from the top of the bag, putting the overlap of the webbing in the center of the bottom of the bag. (I always re-enforce the inch or so where the webbing overlaps. For the webbing I used Metrozene thread and a size 14 needle.)
I then sewed the lining to the top of the bag, then sewed down each side to create the "sack", making certain not to sew through the straps at any point. I then turned the whole thing (with its straps) to the outside (and it worked--yay!) and blind stitched the opening I had left in the lining. I slipped the bag over the machine arm and zig-zagged a couple of inches of center bottom seam through all layers--to hold it all in place.
I then zig-zagged around the entire top of the bag before sewing the webbing straps the rest of the way to the top, reinforcing the webbing along the top edge of the bag in each case.
Then I sewed across the two bottom sides to create the "box". The strengthening fabric I put into the bottom created quite a lump, so I cut across the ends, serged it, then zig-zagged the remainder to the bottom of the bag. In order to make it easy to use and fold, I simply pressed a fold down all four sides.
If this bag had been for me, the pattern would have gone on the outside, but we felt the recipient would prefer it the other way.
In this photo, the finished bag has a pillow in it and the webbing looks very ruckled. It actually isn't ruckled:
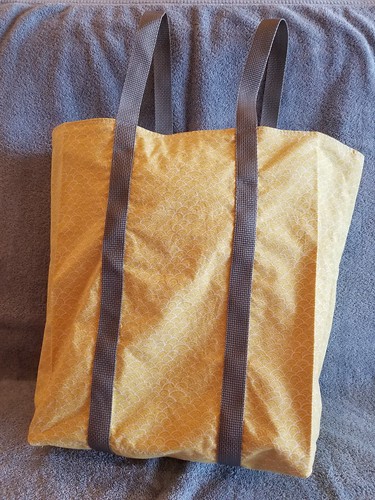
Showing the inside and the outside of the top of the bag:
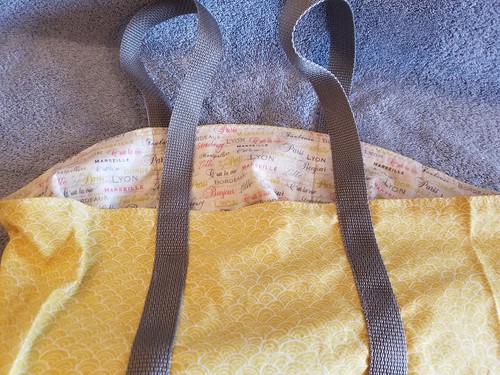
In this first fold you can see where I zig-zagged the sides down to the bottom and in the middle where I was stabilizing the center seam:
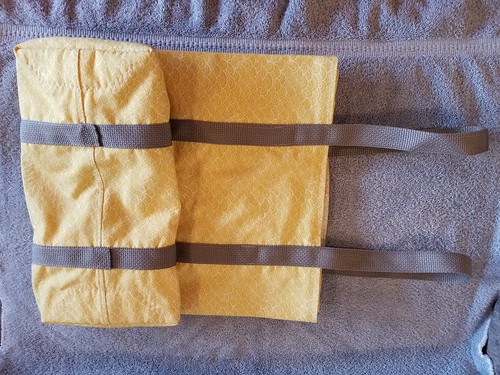
Next fold:
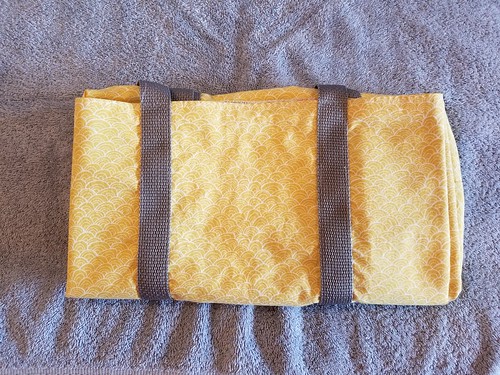
If desired it can also be folded one more time:
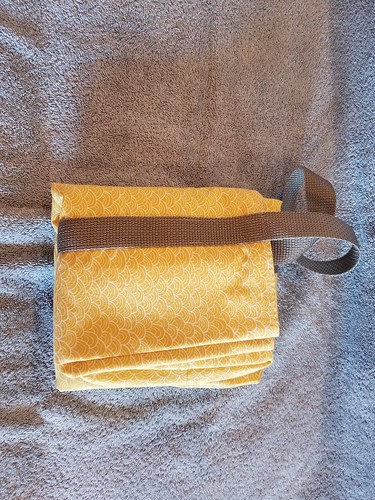
Due to the strength of the (quilting) fabric and the webbing straps, this is quite a strong bag. It is probable that the strengthening fabric inside was not needed, but it has made it even stronger. I am certain one can carry several bottles of wine and a loaf of bread home from the market in France!
----------
Postscript:
- Should one think it might be okay to NOT have a seam down EACH SIDE of the bag; first of all, the one-way pattern prohibited that.
- But the MOST IMPORTANT reason, is that one MUST have a seam down both sides in order to be able to create a bag which can be turned inside out!


